Six Point Star
Paper Star Embellishment –
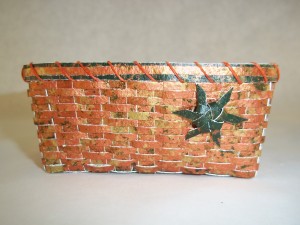
I teach this little embellishment, also called a six strand star, when I teach my paper business card basket, Papyrus. Its not part of the pattern, it’s just a fun part of the class and all of my students go home with a star which is also their pattern. Even so, many of my students have requested that I make a video and post it so they can refer to it when they make more stars . After much resistance I 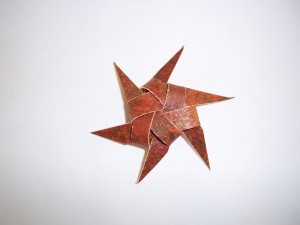 acquiesced. With a little help from my husband, Ralph (thank you), I put together a picture tutorial and a video tutorial. We are not professionals and it was not scripted, so it is far from perfect or amazing, but I think you will get the idea. 🙂
You will find the link for the video tutorial at the end of this post, but first the photo tutorial:
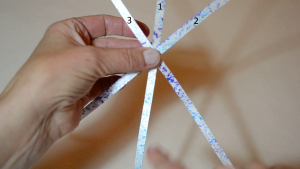
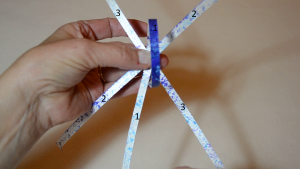
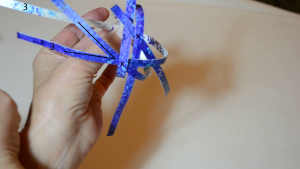
Start with three strips of paper, I am using three 1/4″ strips of 140# painted water color paper, about 15″ long each. Hold them at the center point, as shown above. The vertical piece, number 1 is first, number 2 second and piece number 3 is on top of the stack.
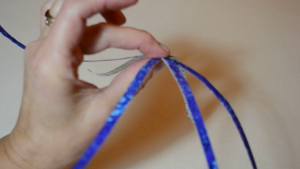
Pinch these three pieces with your thumb and your middle finger. This leaves your other fingers free to hold or catch ends as you weave, especially when you first get started.
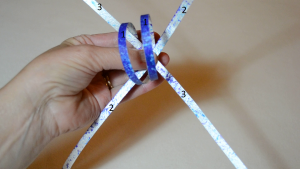
Take the top end of piece number 1 and bring it straight down and to the right of its partner end. Hold it in place with your ring finger and pinkie finger.
Bring the bottom of piece number 1 straight up and along the left side of the top end of number one. Hold it in place between your index finger and middle finger.
Note: whenever you move the top end of a piece, your next move will be with the bottom end. The ends of the same piece will always end up parallel to each other.
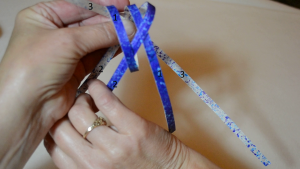
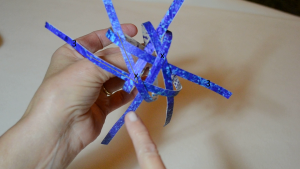
Now take the top end of piece number 2 and bring it over and under as shown above.
Take the bottom end of piece number 2 and bring it over and under as shown above. Now while you continue to pinch the center of the three pieces, let go of the ends of piece number one. You should see a diamond and the four pieces should stay where you have woven them.
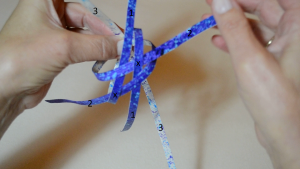
Looking at your diamond you will see two Xs, take the bottom end of piece number 3 and weave it over the X and under the next X. As you can see above, when you let go the piece may not sit exactly over or below the X.
Now take the top end of piece 3, bring it between the tails of #2 and #3 (in the V) and weave this end over and under as shown above. There should now be an end is coming out of every space.
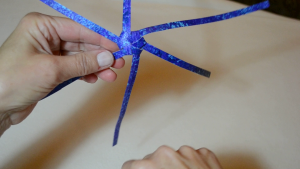
Now that everything is in place, un-pinch the centers and tighten up the ‘knot’.
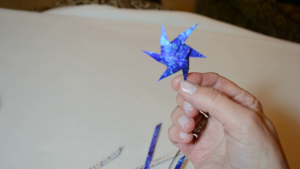
Trim the ends and …
Ta Da! 🙂 It’s a star.
If you want to watch the video tutorial, click the link below. Have fun!



Annetta:
You have so many beautiful decorated baskets – like Sakura, Arisaema, Peacock Knot, and the Star shown here. How do you attach the objects to the baskets so they stay attached? Do you use glue or tie the decoration on or some other technique.
Thank you.
Judy Maynard